This car drying guide explainCar Drying Guide: How to Use a Drying Towel and Compressed Air
The key to safe car drying is not repeatedly wiping the paint. It is allowing the broad surface of the towel to absorb water, collecting the remaining moisture with minimal movement, and ending contact as soon as the water is gone.
Even after a thorough wash, microscopic particles may remain on the paint. If a towel is moved repeatedly across the surface, those particles can travel with it and create swirl marks.
For this reason, a proper car drying process should focus on three actions:
Absorb the water first, move the towel as little as possible, and stop once the surface is dry.
This practical car drying guide explains the exact sequence I use, including how I choose a drying towel, how I dry the hood, side panels, glass, and roof, and how I use compressed air around panel gaps, doors, lower trim, and wheels.
The relationship between towel weight, pressure, drag, and scratch risk is explained in detail in The Physics of Car Drying Towels.
Car Drying in 3 Seconds
Core principle: A drying towel is not a tool for scrubbing. Spread it wide and allow it to absorb the water.
Order: Hood → vehicle sides → windshield → roof
Start with the areas where swirl marks are most visible while the towel is still clean and performing at its best.
Do not: Wipe the lower door trim or rocker panel area with the body towel. These areas may still contain contamination. Use compressed air to remove the water, and use the towel only as a barrier to stop expelled water from spreading.
Do Not Start Drying the Moment Rinsing Ends
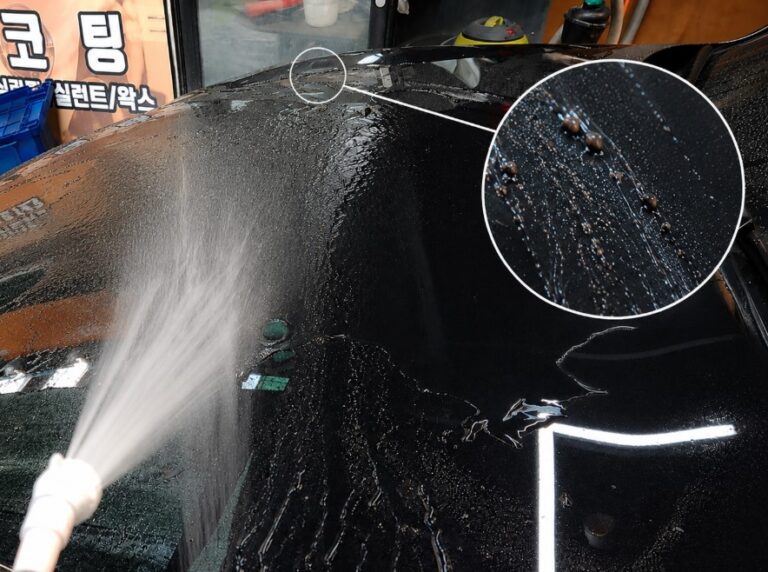
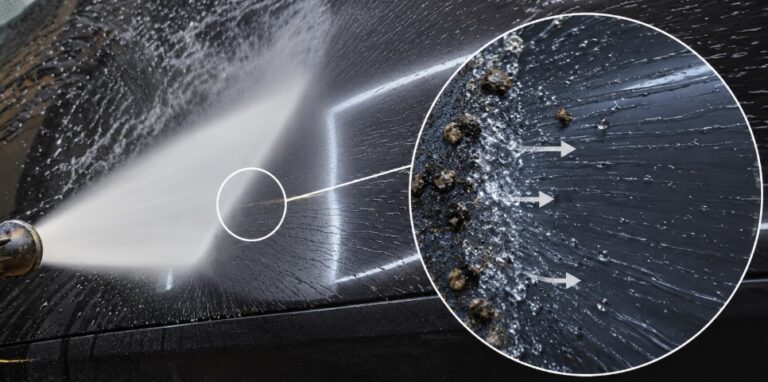
Immediately after the final rinse, water continues to drain from the roof, glass, side mirrors, panel gaps, and trim.
Starting too quickly means the towel must absorb water that would otherwise have drained away naturally. Water may also run back over an area you have already dried, forcing you to repeat the same section.
After rinsing, I organize the wash tools and allow the larger streams of water to drain before beginning the drying process.
This does not mean waiting for the vehicle to air-dry completely. The goal is simply to reduce the bulk water that gravity can remove, leaving only the moisture that the towel actually needs to collect.
This is particularly useful on vehicles with weak hydrophobic behavior. Water spreads broadly across these surfaces and flows downward rather than forming tight beads. Giving it time to drain often allows one large drying towel to remove most of the remaining water.
Efficient drying begins by allowing naturally draining water to leave the vehicle first.
Part 1. Body Drying
Choose a Drying Towel That Balances Absorption and Control
A drying towel is not automatically better because it is thicker, nor is a thinner towel always easier to use.
A towel that is too thin may not hold enough water in a single pass. It can leave a thin film behind, encouraging the user to go over the same area again or press the towel against the surface to collect the remaining moisture.
An excessively thick towel can absorb a large amount of water, but it may be difficult to control. Around side mirrors, door handles, glass edges, and raised body lines, the towel may bunch up or become difficult to position accurately.
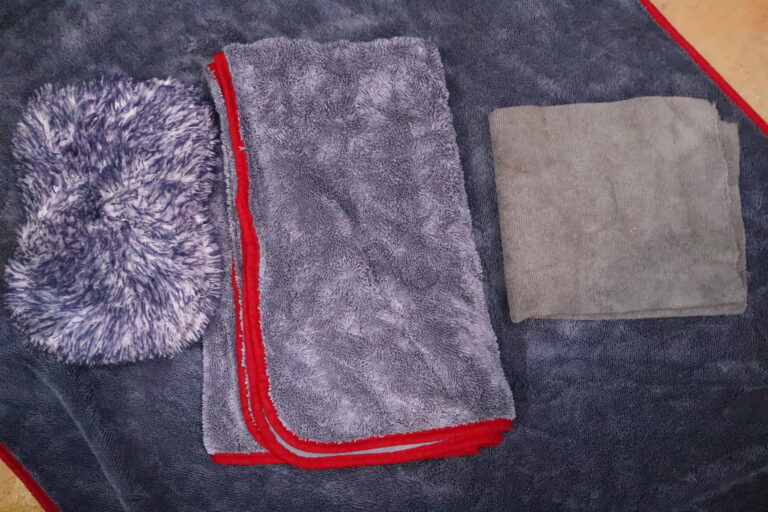
For this reason, I prefer a medium-thickness twist-loop drying towel.
It can be spread easily across large areas such as the hood and glass, while its edges can still be positioned accurately around mirrors, trim, and raised sections.
This is not an absolute rule for every user. The most comfortable towel thickness depends on the size of the vehicle, the user’s technique, and personal preference.
A towel that is too thin lacks capacity. A towel that is too thick can be difficult to control. I use a twist-loop towel that provides a practical balance between water absorption and precise handling.
Start with the Most Visible Areas While the Towel Is at Its Best
I dry the body in the following order:
Hood → one full pass around the vehicle sides → windshield → roof
This differs from the common top-to-bottom approach.
The hood and side panels directly reflect sunlight and artificial lighting. They are also viewed more frequently at eye level, so fine swirl marks are relatively easy to notice.
I therefore dry these areas first, while the towel is at its cleanest and has its best absorption performance.
The windshield comes next because it is not a painted panel. The roof is dried last because fine defects are less visible unless the vehicle is viewed from above.
This does not mean that scratches on the roof are acceptable. When using one main towel, it simply makes sense to reserve the towel’s best condition for the most visually sensitive painted areas.
1. Drying the Hood
Spread the Towel and Let It Absorb Before Moving
Spread the drying towel broadly across the hood.
Do not pull it immediately. Allow the full surface of the towel to absorb the water first. There is no need to press down with your hands. Let the towel’s own absorbency do the work.
Reducing the amount of water before moving the towel helps shorten both the travel distance and the amount of repeated contact.
Lift the Leading Edge Slightly Before Pulling
Once the towel has absorbed some of the water, slightly lift only the edge facing the direction of travel and pull the towel slowly.
Lifting the leading edge helps prevent it from folding, rolling, or bunching as it moves.
Do not lift the entire towel. Control only the front edge while allowing the rest of the towel to remain in contact with the paint and continue absorbing water.
Spread → wait briefly → lift the leading edge → pull slowly
Whenever possible, avoid repeatedly lifting the towel and placing it in a new position. Continue in the same direction and complete the hood with the shortest practical movement.
2. Drying the Vehicle Sides
Divide the side of the vehicle into two main areas:
- Upper glass
- Painted door panels
Although the areas are separated, the towel should not be folded into a small pad and rubbed repeatedly over the same section.
The main objective is to keep the towel spread wide and use its full surface to absorb water.
Use the Upper and Lower Edges as Anchors on the Side Glass
Hold the upper edge of the towel near the gap where the roof meets the upper glass.
With the other hand, hold the lower edge near the bottom of the window. This keeps the towel spread across the glass.
The hands are not used to press the towel against the surface. Their purpose is to maintain its position and shape while moving along the side of the vehicle.
Because the entire open surface of the towel absorbs the water, there is no need to wipe the glass repeatedly with a small folded section.
Contact the Vertical Glass Edge Once During the Same Movement
Water may remain along the vertical edge where the side glass ends.
Do not finish the main section and then return for a second pass. During the same forward movement, use one hand to bring the towel into contact with the vertical edge once.
This allows the broad glass surface and the narrow outer edge to be completed in one continuous motion.
Divide the Doors into Separate Working Areas
Do not attempt to dry the entire painted side of the vehicle in one long movement.
Treat the front door and rear door as separate working areas.
Trying to cover the whole side at once creates a large arm movement and makes it difficult to keep the towel evenly spread and under control.
Anchor One Hand Below the Glass
Use one hand to hold the upper section of the towel at the gap below the side glass.
This hand does not press the towel into the paint. It maintains the towel’s height and position, preventing the lower section from sagging or touching the ground.
Move the Other Hand in a Smooth Arc
Hold the lower section of the towel with the opposite hand and guide it across the door panel in a smooth arc.
The upper anchor point remains stable while the broad face of the towel opens across the door and absorbs the water.
Complete the front door with one large controlled movement, then move to the rear door and repeat the same process.
Anchor one hand below the glass and guide the broad towel surface across each door with the other hand.
Do Not Dry the Lower Trim with the Body Towel
The lower door trim and rocker panel area are not included in the main towel-drying process.
Even after washing and rinsing, fine contamination may remain inside ledges, joints, and recessed sections. Moving a towel firmly across these areas may carry those particles over the surface.
Dry only the painted door panels with the body towel.
The lower trim and rocker panel area are handled later during the compressed-air drying stage.
Wrap Side Mirrors and Door Handles Once
Do not wipe side mirrors and door handles repeatedly.
Wrap the towel around the outer structure and make one light contact with the edges and lower areas where water tends to remain.
For a side mirror, wrap the housing and briefly contact the outer edge and underside.
For a door handle, wrap the exterior and briefly contact the edges and lower section.
Water trapped inside the gaps is removed later with compressed air.
3. Drying the Windshield and Roof
Spread the Towel Across the Windshield and Pull
Spread the towel broadly across the windshield and allow the full surface to absorb the water before pulling it slowly.
Do not fold the towel into a small section and wipe repeatedly.
Use the entire open surface to collect the water in one movement.
As the towel moves, use one hand to bring it into contact with the edge where the glass meets the molding. This allows the center and outer edge to be completed as one continuous action rather than two separate passes.
Use the Same Method on the Roof
The roof is dried in the same way as the hood and windshield.
Spread the towel → wait briefly → lift the leading edge → pull slowly → contact the outer edge once
Do not repeatedly wipe the center of the roof and the molding area as separate sections. Allow the entire open surface of the towel to absorb the water.
The roof is dried last so the towel’s cleanest and most absorbent condition can be used first on the hood and side panels, where swirl marks are easier to see.
Replace the Towel When It Leaves Water Behind
The replacement point should not be judged only by how heavy the towel feels.
The most practical indicator is the amount of water remaining after one pass.
Consider replacing the towel or using a finishing towel when:
- A broad film of water remains behind
- Water droplets are pushed rather than absorbed
- The same section requires another pass
- You feel the need to press down to collect the water
The correct replacement point is determined by how much water the towel removes in one movement, not simply by its weight.
For a self-service car wash user with several towels available, switching to a fresh drying towel is usually the better choice.
When only one large drying towel is available, use it to remove the bulk water from the entire vehicle. Then collect the remaining thin film and small droplets with a clean, dry multipurpose microfiber towel.
There is no need to rub the same area repeatedly simply to remove every final droplet with one large towel.
Part 2. Compressed-Air Drying
Compressed Air Is the Tool That Actually Dries the Gaps
After the main body has been dried, water remains in areas a towel cannot reach properly.
These areas include:
- Inside the side mirrors
- Door handle gaps
- Between the windows and moldings
- Around emblems and license plates
- Door and trunk gaps
- Panel joints
Compressed air pushes trapped water out of these spaces and removes the remaining moisture.
The air performs the actual drying inside the gaps.
Move the Air Nozzle Parallel to the Gap
Do not hold the nozzle perpendicular to one spot and blast air directly into the gap.
Instead, align the nozzle movement with the direction of the gap.
For a horizontal window molding, move the nozzle horizontally.
For a vertical door gap, move it vertically.
Begin at one end and follow the line toward the other, pushing the trapped water in one consistent direction.
The objective is not to force the nozzle deeply into the gap. It is to guide the water outward by following the direction in which the gap continues.
The movement can be understood in four steps:
Identify where the water will exit → position the towel ahead of it → align the nozzle with the gap → move along the gap and push the water outward
Use the Towel to Stop Water from Spreading
When compressed air is directed into a gap, expelled water can splash onto paint or glass that has already been dried.
Lightly position a towel in the direction where the water is expected to exit. Blow air from the opposite side.
The roles are clearly separated:
- Compressed air: Removes water from inside the gap
- Towel: Stops expelled water from spreading over nearby surfaces
The air dries the gap. The towel acts as a barrier.
Do Not Press and Wipe with the Barrier Towel
Fine contamination may remain inside panel gaps even after washing.
If expelled water contains contamination, moving a pressed towel across the paint may carry those particles with it.
The towel should not be used to wipe this water across the surface.
Hold it lightly in one position and use it only as a barrier that prevents the water from spreading.
Dry the Door Jambs and Lower Trim in One Sequence
Open the doors and use compressed air around:
- Rubber seals
- Hinges
- Lower door edges
- Connections between the door and body
Lightly place a towel in the direction where the water will exit to prevent it from entering the interior or spreading over an area that has already been dried.
After completing the door gaps, continue downward and air-dry the lower door trim and rocker panel area as part of the same sequence.
Fine contamination may remain in these lower sections, so do not rub them with the towel.
Direct the air along the ledges and joints. Use the towel only to block the outward spread of expelled water.
Continue from the door gaps to the lower trim using compressed air, while keeping direct towel contact to a minimum.
Dry the Wheels with Air Only
Wheels contain many areas that are difficult to reach safely with a towel:
- Between the spokes
- Wheel bolt holes
- Around the valve stem
- The inner rim
- The area where the tire meets the rim
Whenever possible, I dry the wheels with compressed air rather than repeatedly wiping them with a towel.
Work from top to bottom and push water from the following areas:
- Front and rear surfaces of the spokes
- Wheel bolt holes
- Around the valve stem
- The tire and rim boundary
- Inner wheel surfaces
- The lower section of the wheel last
Around the body, doors, and trim, a towel is used to block expelled water.
For the wheels, I use compressed air without a towel.
Practical Car Drying: Four-Step Summary
| Step | Working Area | Main Action | Avoid |
|---|---|---|---|
| 1. Large panels | Hood, windshield, roof | Spread the towel, allow it to absorb, slightly lift the leading edge, and pull slowly. | Pressing with the palm or repeatedly wiping the same section |
| 2. Vehicle sides | Side glass and painted doors | Anchor one hand and guide the broad towel surface across each door in a smooth arc. | Wiping the whole side in one long movement or repeatedly using a small folded section |
| 3. Gaps and lower areas | Mirrors, moldings, door jambs, lower trim | Move the air nozzle parallel to the gap while using a towel to block expelled water. | Pushing a bunched towel into gaps or rubbing the lower trim |
| 4. Wheels | Spokes, bolt holes, valve stem, inner rim | Work from top to bottom and remove water using compressed air only. | Using the body towel on the wheels or forcing it into narrow spaces |
Use the broad surface of the towel to absorb water from large, relatively clean panels.
Use compressed air around gaps and lower sections where contamination may remain. In these areas, the towel should act only as a barrier that stops expelled water from spreading.
Part 3. Final Inspection
Check the Vehicle Again After Using Compressed Air
Water hidden inside gaps may continue to emerge after the air-drying process.
Walk around the vehicle and inspect:
- Below the side mirrors
- Around the door handles
- Window moldings
- License plate and trunk areas
- Lower door edges
- Around the bumpers and grille
Absorb any remaining droplets by lightly placing a clean, dry towel against them.
Do Not Rewipe the Entire Vehicle Because of a Few Droplets
Do not use the large drying towel to wipe the whole vehicle again simply because a few droplets remain.
Use a fresh drying towel when one is available.
When only one large towel is available, use the dry side of a clean multipurpose microfiber towel to collect moisture only from the areas that need it.
Once the water has been removed, stop moving the towel.
Good car drying is not a process of repeatedly rubbing the paint.
It is a controlled process of absorbing water with the broad surface of the towel, collecting the remaining moisture with the shortest possible movement, and ending contact as soon as the surface is dry.
To understand the friction, load, and drag you feel through your fingertips—and the three physical conditions that can cause drying scratches—read The Physics of Car Drying Towels: How to Reduce Scratch Risk.
Why should you dry the hood first, and why should you lift the leading edge of the towel before pulling it?