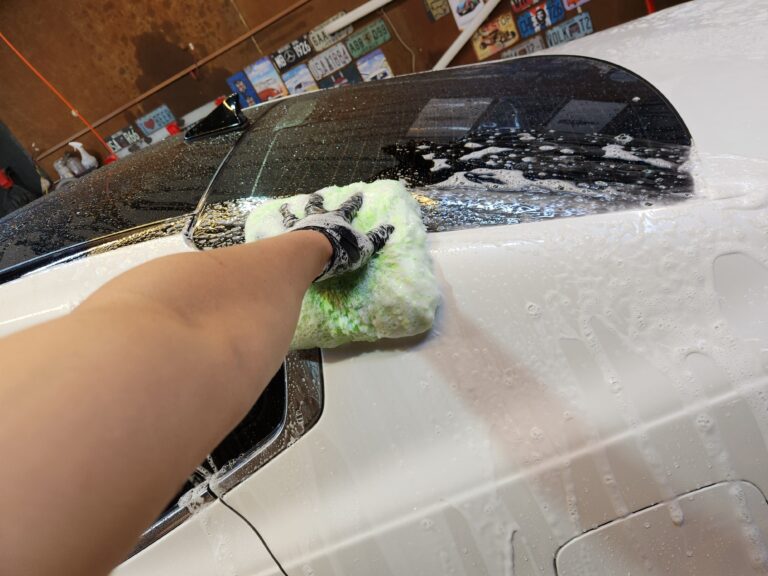
Car swirl marks can still develop even when you use a high-quality wash mitt, premium microfiber towels, the two-bucket method, and straight-line motions.
You might wash carefully, dry with a soft towel, and buff the paint with a clean microfiber cloth. Yet under direct sunlight or an inspection light, circular spiderweb-like marks still show up.
So, what went wrong?
Most car-care guides explain which tools to use and how to move them. However, only a few explain why swirl marks still appear even when you follow every familiar rule.
Swirl marks rarely come from a single bad mitt or a low-quality towel. Instead, they build up over time through repeated contact during the wash, drying, and buffing stages.
That is why simply searching for the perfect wash mitt or the softest towel does not solve the problem.
Instead of focusing only on the tool, pay attention to what remains on the paint and how that material behaves during contact.
What Are Swirl Marks?
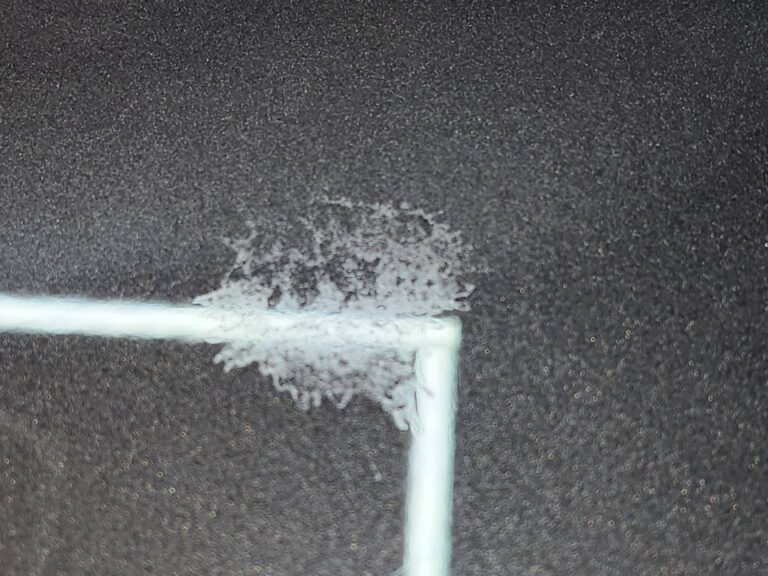
Swirl marks are shallow micro-scratches that accumulate in multiple directions across the clear coat.
They do not form as one perfect circular scratch. Rather, countless fine marks created during washing, drying, and buffing become visible as circular or spiderweb-like patterns under certain lighting.
Several factors usually combine before a scratch forms.
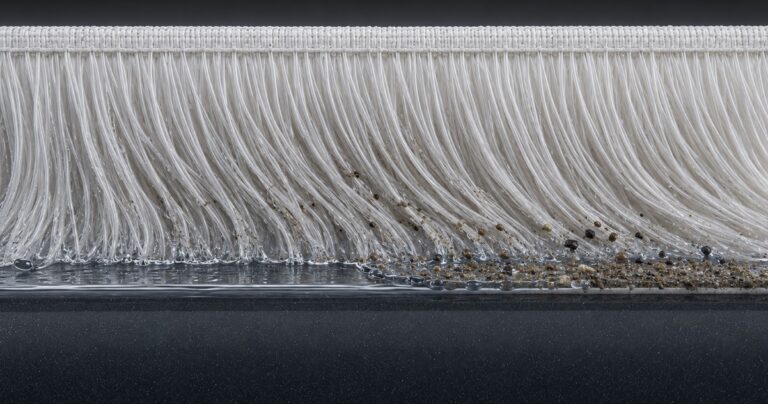
A hard particle or abrasive residue remains on the clear coat. Then a mitt or towel presses that material against the clear coat and drags it across the panel.
You can summarize the basic risk like this:
Hard contamination or residue + contact pressure + travel distance + repeated contact
As lubrication decreases, resistance between the tool and the surface increases. In response, users often apply more force without noticing and may drag the same particle farther across the paint.
For a deeper explanation of how force and movement affect scratch risk, see [The Physics of Detailing: Reducing Scratch Risk with F=ma].
Why Do Swirl Marks Look Circular?
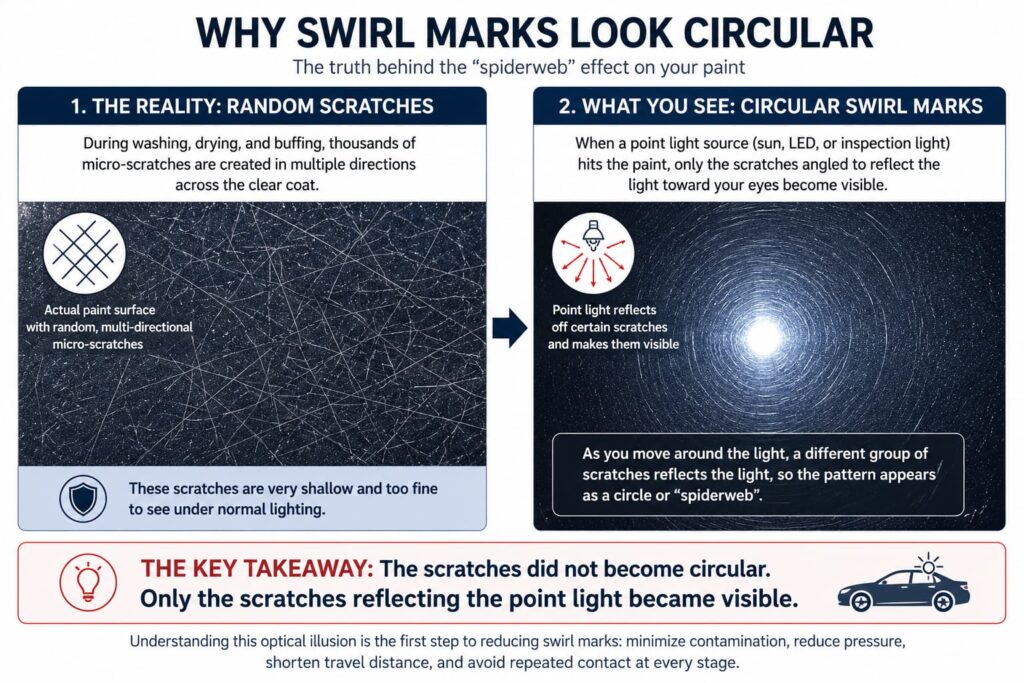
First, it helps to clarify one point.
Not every scratch on a vehicle forms in a straight line. During routine care, scratches can appear straight, curved, short, long, or randomly oriented.
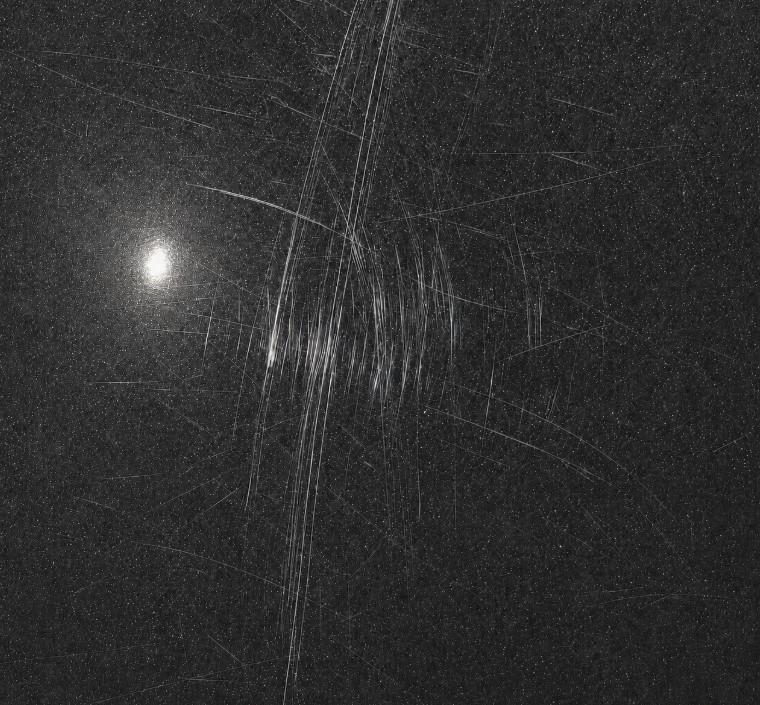
However, the circular pattern you see under sunlight or a small LED inspection light does not mean a single circular scratch exists on the paint.
Fine scratches already run in many directions across the panel. Only those positioned at the right angle reflect the light source toward your eyes and become visible.
As you move around the reflection point, different scratches catch the light. These illuminated sections appear to form a ring or spiderweb around the light source.
In simple terms:
Swirl marks appear circular not because you wiped in circles, but because randomly oriented scratches reflect light selectively around a point source.
This also explains why the apparent center of the swirl pattern shifts when you move an inspection light. The scratches stay in place, but the reflected light changes.
Can Straight-Line Motions Prevent Swirl Marks?
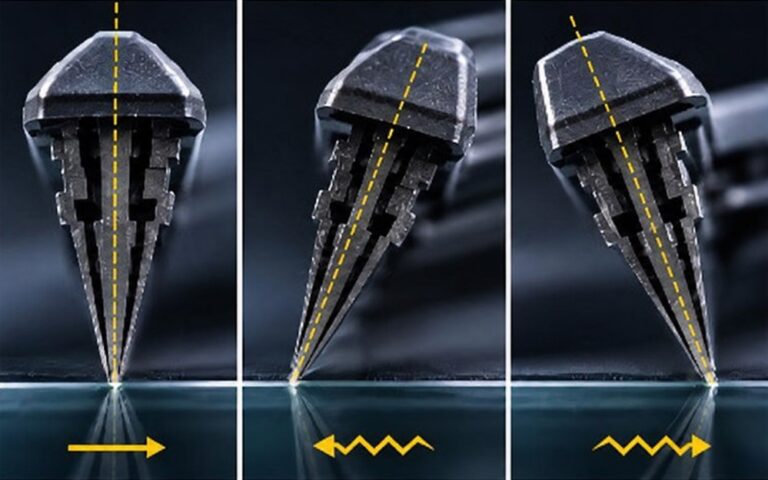
Moving a mitt or towel in straight lines does not eliminate scratch risk.
If a hard particle gets trapped between the paint and the wash media, pressure and movement can still create a scratch regardless of direction.
Even so, straight-line motions remain useful because they improve control.
Short, straight passes help you track which areas you have already covered. They also reduce unnecessary overlap and make it easier to identify the direction of a defect if something goes wrong.
Straight-line washing is not a rule that prevents swirl marks.
Instead, it serves as a practical way to manage pressure, travel distance, and repeated contact.
Why Swirl Marks Form During Washing, Drying, and Buffing
Each stage of detailing serves a different purpose.
The wash stage removes contamination. Drying removes water. Buffing removes product residue and refines the finish.
Despite these differences, the same contact principles apply whenever a mitt or towel touches the paint.
What changes is the source of risk.
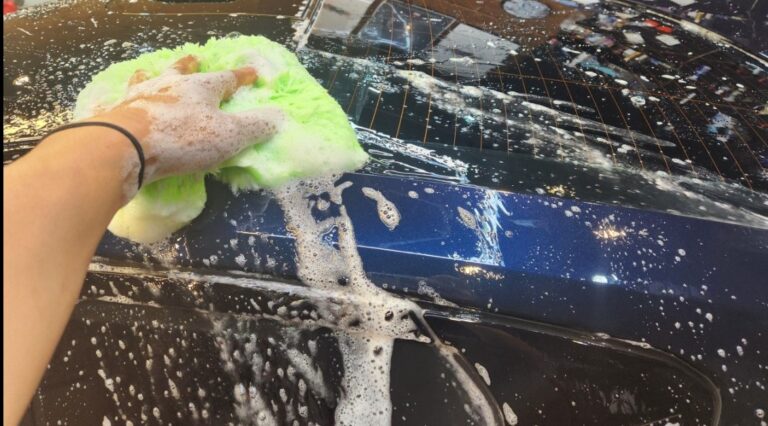
During washing, hard contamination such as sand, road grit, and abrasive particles poses the main threat.
During drying, most heavy contamination is gone, but towel resistance increases as water disappears, leading to more repeated contact.
During buffing, product residue and towel saturation create drag, which often leads to added pressure.
The risk does not disappear as you move through the process.
Instead, the source of that risk shifts from one stage to another.
The table below summarizes the main risk and control point at each stage.
Swirl Mark Risk by Detailing Stage
| Detailing Stage | Main Source of Risk | What to Control |
|---|---|---|
| Wash | Hard contamination such as sand, road grit, and abrasive particles | Reduce contamination before contact through pre-washing and pressure rinsing |
| Drying | Towel resistance as water disappears, combined with repeated contact | Absorb water with a widely spread towel instead of rubbing the paint |
| Buffing | Product residue, towel saturation, and added pressure | Apply less product, change towel sides frequently, and stop when the residue is gone |
The tools and objectives change at each stage, but the core risk remains the same:
Swirl marks become more likely when contamination or residue remains between the paint and the tool while pressure, movement, and repeated contact continue.
For a more detailed comparison, see [How Scratch Risk Changes During Washing, Drying, and Buffing].
Why Swirl Marks Form During the Wash Stage
Clean buckets and wash media matter.
However, checking whether the mitt is clean before use does not guarantee safety.
At the moment of contact, a more important question arises:
How much hard contamination still remains on the vehicle?
If the pre-wash and pressure rinse fail to reduce contamination sufficiently, even a new mitt or fresh towel begins collecting dirt immediately.
Once a clean tool touches a contaminated panel, it stops being clean.
Is a Touchless Car Wash the Safest Way to Prevent Swirl Marks?
A touchless wash removes dirt using chemicals and pressurized water without physical contact.
Because no wiping occurs during the wash stage, it reduces direct contact-related swirl risk. This approach works well for light dust or loosely bonded contamination.
However, from a process perspective, a touchless wash effectively ends after the pre-wash and rinse stages.
While a pre-wash loosens contamination, it does not always remove thin road film, oily residue, or tightly bonded particles.
Problems often appear in the next stage.
When you move a drying towel across paint that still carries contamination, the contact you avoided during washing happens during drying instead. The towel collects remaining particles and drags them across the clear coat.
A touchless wash may reduce contact during washing, but if cleaning remains incomplete, the risk shifts to drying or buffing.
Touchless washing is not automatically safe.
Its effectiveness depends on how much contamination remains and how you handle the next steps.
Why Can the Two-Bucket Method Still Create Swirl Marks?
The two-bucket method helps reduce contamination transfer.
It limits how much dirt returns from a used mitt into the clean shampoo solution and onto the next panel.
However, it does not eliminate every risk.
Hard particles may still remain on the vehicle after pre-washing. Contamination can stay trapped inside the mitt. Shampoo lubrication may decrease. Pressure may increase, and passes may become too long.
Rinsing a mitt in a bucket does not guarantee that all particles leave the fibers. If the fibers hold contamination tightly, simple agitation may not release it.
The two-bucket method mainly reduces reintroducing contamination already collected by the mitt.
It does not neutralize contamination already sitting on the vehicle.
Why Even a Good Wash Mitt Cannot Prevent Every Swirl Mark
A thick wash mitt with long fibers offers clear advantages.
It holds more shampoo, distributes pressure more evenly, and provides space for contamination to move away from the paint.
However, softness alone does not ensure safety.
A mitt may retain plenty of liquid but fail to release enough at the contact surface. If contamination enters the fibers but does not flush out, the mitt can carry particles across multiple sections.
A high-quality wash mitt must do more than feel soft.
It must balance water retention, flushing ability, contamination capture, release, and pressure distribution.
For more detail, see [Wash Mitt Flushing: How Water and Contamination Move Through the Fibers].
Is the Multiple-Towel Wash Method Safer Than a Wash Mitt?
The multiple-towel method uses several clean towels without returning them to the wash solution.
This approach reduces cross-contamination between panels.
Using a fresh towel or side for each section lowers the chance of transferring dirt from one area to another.
However, this method mainly controls contamination coming from the tool itself.
The most dangerous contamination often already sits on the vehicle before contact begins.
As soon as a fresh towel touches the panel, it starts collecting particles from that surface. Even when you use a new towel for each panel, the same risk repeats if contamination remains.
One towel may drag particles across the hood, while another does the same on the door.
Although contamination does not transfer between panels, each panel still experiences risky contact.
A clean towel prevents cross-contamination, but it does not remove contamination already present on the surface.
When Does the Close Contact of a Wash Towel Become an Advantage?
A towel typically conforms more closely to the paint than a thick wash mitt.
This close contact can help or harm, depending on the surface condition.
When heavy contamination remains, a towel may press particles tightly against the clear coat and drag them across the panel. Thin towels also provide less space for particles to move away and usually hold less solution.
After pre-washing and the first contact wash remove most contamination, closer contact becomes beneficial.
At that stage, a towel can effectively remove thin road film or light residue still attached to the paint.
That is why I use a towel during the second wash stage.
First, I loosen contamination with a pre-wash and pressure rinse. Then I perform the initial contact wash with a thick mitt. After rinsing away loosened dirt, I switch to a towel when contamination levels are much lower.
I do not choose a towel because it is always safer.
I choose it because earlier steps reduce contamination enough for close contact to become useful.
When contamination is low, close contact improves cleaning.
When contamination is high, it increases pressure and friction.
How to Reduce Swirl Marks During the Wash Stage
Avoid focusing on a single “correct” method.
Instead, reduce contamination as much as possible before touching the paint.
Then select wash media that match the remaining contamination level. Maintain sufficient lubrication, use short passes, apply minimal pressure, and confirm that contamination releases from the tool.
The condition of the paint at the moment of contact matters more than the name of the wash method.
Why Swirl Marks Form During Drying
After washing and rinsing, the vehicle may appear completely clean.
However, microscopic particles and thin contamination films often remain.
A drying towel covers a large area. If fine particles remain, the towel can collect and drag them across the surface.
As water disappears, resistance increases. Users often respond by pressing harder or repeating passes without realizing it.
Can a Premium Drying Towel Still Create Swirl Marks?
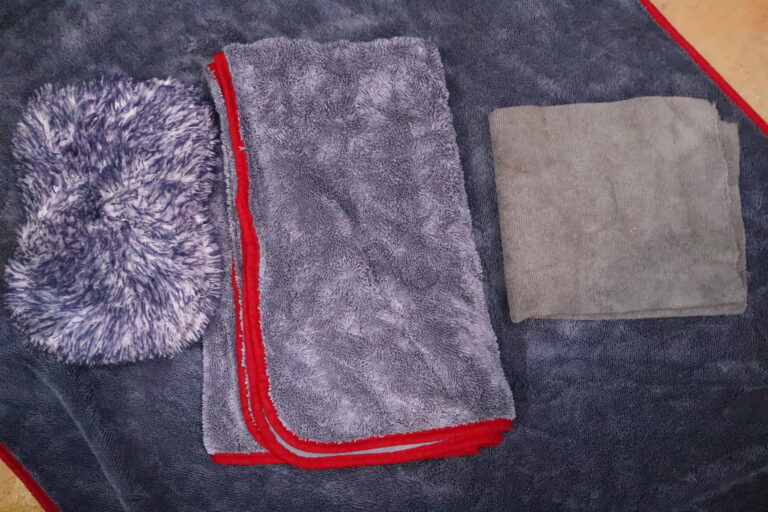
A soft, highly absorbent towel helps.
However, even the best towel cannot compensate for remaining contamination or poor technique.
Folding the towel into a small pad, pressing with fingertips, or repeatedly wiping a dry area reduces its effectiveness.
The goal is not to scrub the paint.
Instead, spread the towel and allow it to absorb water naturally.
A good towel supports proper technique.
It does not make improper technique safe.
Is It Safe to Move a Drying Towel in Straight Lines?
Straight-line movement does not eliminate risk.
If a particle becomes trapped under pressure, it can still create a scratch.
The benefit of straight-line motion lies in control.
It reduces travel distance, helps track coverage, and limits unnecessary repetition.
Why Is Repeated Wiping During Drying Risky?
At the beginning of drying, the surface holds plenty of water.
After the towel absorbs that water, repeated passes occur on a drier surface.
As resistance increases, applying extra force becomes easier. Any remaining particles travel farther with each pass.
Avoid wiping areas that are already dry.
The initial absorption pass is usually safer than repeated contact on a drying surface.
For more detail, see [Why Scratch Risk Changes During the Drying Stage] and [Practical Car Drying Guide: Towel Technique and Air-Drying Order].
How to Reduce Contact During Drying
Drying should not compensate for incomplete washing.
Its purpose is to remove water with minimal contact.
If the towel begins to drag, do not press harder. Instead, check towel saturation, remaining moisture, and possible contamination.
Once the water is gone, stop.
Why Swirl Marks Form During Buffing
Buffing removes product residue and refines the finish.
Because the surface is clean at this stage, many assume the risk disappears.
However, during buffing, residue and towel saturation replace large particles as the main source of resistance.
As resistance increases, users often apply more pressure and repeat motions.
Does More Buffing Create More Gloss?
Once you remove the residue, buffing is complete.
Continuing to rub the paint does not increase gloss indefinitely.
Instead, it increases contact frequency and potential risk.
Stop buffing once the residue is gone.
Why Does a Saturated Buffing Towel Leave More Residue?
A clean towel absorbs residue into its fibers.
As residue builds up, fewer clean fibers remain available.
Eventually, the towel begins to smear residue instead of removing it. This leads to haze and encourages more pressure and repetition.
The issue is not just reduced softness.
Poor residue removal leads to unnecessary contact and pressure.
If the towel drags or haze persists, switch to a clean side or a fresh towel.
Is Any Soft Towel Suitable for Buffing?
A buffing towel must balance softness with function.
Very long fibers may push residue instead of collecting it. Very thin towels may concentrate pressure.
No single specification guarantees ideal performance.
Factors such as product type, application amount, towel structure, and hand support all matter.
The goal is to remove residue efficiently while distributing pressure evenly.
Should Buffing Pressure Always Be as Light as Possible?
Extremely light pressure may fail to remove residue effectively.
Instead, apply the lowest even pressure that allows the towel to collect residue.
If resistance increases, investigate the cause.
Check product amount, cure time, towel saturation, and towel condition.
Avoid solving resistance with force.
For more detail, see [Buffing Pressure and Towel Saturation] and [Practical Spray-Wax Buffing: Towel Priming and Two-Stage Finishing].
How to Reduce Swirl Marks During Buffing
Buffing should not continue longer than necessary.
Its purpose is to remove residue evenly and stop.
Once the surface is clear, additional wiping only increases risk.
Common Principles for Reducing Swirl Marks
During washing, contamination moves between the paint and wash media.
During drying, reduced moisture increases resistance.
During buffing, residue and saturation create drag.
Although each stage differs, the core risk factors remain consistent:
- Remaining contamination before contact
- Concentrated pressure
- Travel distance
- Repeated passes
- Increased force under resistance
Reducing swirl marks is not about finding a perfect product.
It is about controlling contact conditions at every stage.
Reduce contamination before washing. Minimize contact during drying. Limit pressure and repetition during buffing.
💡 Three Details to Remember at Your Next Car Wash
- Wash: Reduce contamination before touching the paint.
- Drying: Avoid wiping already dry areas.
- Buffing: Do not increase pressure when residue remains.
Swirl-Mark Removal and Management: When Is Paint Correction Necessary?
You cannot eliminate all paint contact during detailing.
Therefore, you cannot reduce swirl-mark risk to zero.
Detailing aims to slow defect formation and keep scratches shallow.
It does not guarantee a perfectly scratch-free surface.
Not every swirl mark requires immediate polishing.
Wax and glaze do not remove scratches, but they can reduce their visibility by altering light reflection.
The scratches remain underneath.
Over time, defects accumulate. Eventually, concealment becomes insufficient, and paint correction becomes necessary.
Detailing does not require immediate correction of every minor defect.
Instead, manage shallow swirls visually and reserve polishing for when concealment no longer works.
This approach avoids unnecessary clear coat removal while maintaining appearance.
Good detailing does not mean eliminating every scratch forever.
It means controlling how quickly defects form, managing their visibility, and correcting them when needed.